Create A Static Site Using 11ty & Deploy to Neocities (2026 Refresh)
What’s going on, Internet? Way back in 2022 I wrote a guide on building a static site with 11ty and deploying it to Neocities. It’s been one of my most-read posts, but it’s also aged: Eleventy has moved to v3 with a brand new module system, the dev server changed, and my whole workflow has shifted away from GitHub toward Forgejo and Codeberg. So here’s the refresh.
I haven’t hosted my own site on Neocities for years now, but it’s still home to a huge community of personal sites and homepages, especially folks in the 32-Bit Cafe, so this guide is still very much for them.
This guide aims to help you create a homepage using the static site generator (SSG) 11ty, keep the code in version control, and deploy it to Neocities, first by hand, then automatically.
The homepage that we are creating will take advantage of the Nunjucks templating language, allowing us to create a shared header, navigation and footer across all the pages on our homepage.
We will be creating an about, links, and contact pages before diving in and creating the ability to add a blog and a list of all blog posts on the blog page!
We will structure and style the page with a standard HTML5 boilerplate and some basic CSS that should allow you to add in your unique flavour that we all know you love to do.
Create a new project
First off, from a terminal, confirm that you have Node and NPM installed:
node -v && npm -v
v22.11.0
10.9.0Create a new directory and cd into it:
mkdir 11ty-neocities && cd 11ty-neocitiesInitiate a new project:
npm init -yInstall 11ty:
npm install @11ty/eleventyOnce the 11ty installation is complete, open the project in your favourite code editor:
codium .You should now be in VSCodium with the following project structure:
11ty-neocities/
├── node_modules/
├── package.json
└── package-lock.json
Open package.json and update the scripts section to the following:
  "scripts": {
    "start": "npx @11ty/eleventy --serve",
    "build": "npx @11ty/eleventy"
  },
We also need to tell Node that this is an ESM project. Add "type": "module" to package.json. The file should look like this:
{
  "name": "11ty-neocities",
  "version": "1.0.0",
  "description": "",
  "type": "module",
  "main": "index.js",
  "scripts": {
    "start": "npx @11ty/eleventy --serve",
    "build": "npx @11ty/eleventy"
  },
  "keywords": [],
  "author": "",
  "license": "ISC",
  "dependencies": {
    "@11ty/eleventy": "^3.1.6"
  }
}Create an 11ty config file
From the terminal (or VSCodium), create a new file eleventy.config.js at the project root:
touch eleventy.config.jsOpen the file in VSCodium and add the following and save:
export default function (eleventyConfig) {
  return {
    dir: {
      input: "src",
      output: "public",
      includes: "_includes",
    },
  };
}.gitignore
As we’re going to be keeping our homepage code in version control, create a .gitignore file in the project root:
touch .gitignoreOpen the file in VSCodium and add the following and save:
# dependencies installed by npm

node_modules

# build artefacts

publicStart building the homepage
Now comes the fun part, building our homepage. 11ty supports a number of templating languages, but the two you’ll reach for most are Markdown and plain HTML. Markdown is the popular choice for content like blog posts: you just write, without <html> tags getting in the way. HTML is handy when you need precise structure. The best part is you can drop HTML straight into a Markdown file and 11ty renders it correctly, so it’s never one or the other.
For the pages that make up the site’s structure (home, about, links, contact) we’ll use HTML, because it maps neatly onto the layouts and partials we’re about to build. When we get to the blog, we’ll write the posts in Markdown, where it shines. Use whichever fits the job.
Create a src directory at the project root and cd into it:
mkdir src && cd srcCreate an index.html file in the terminal or VSCodium:
touch index.htmlOpen the file and add some content:
<html>
  <head>
    <title>My New 11ty Homepage on Neocities!</title>
  </head>
  <body>
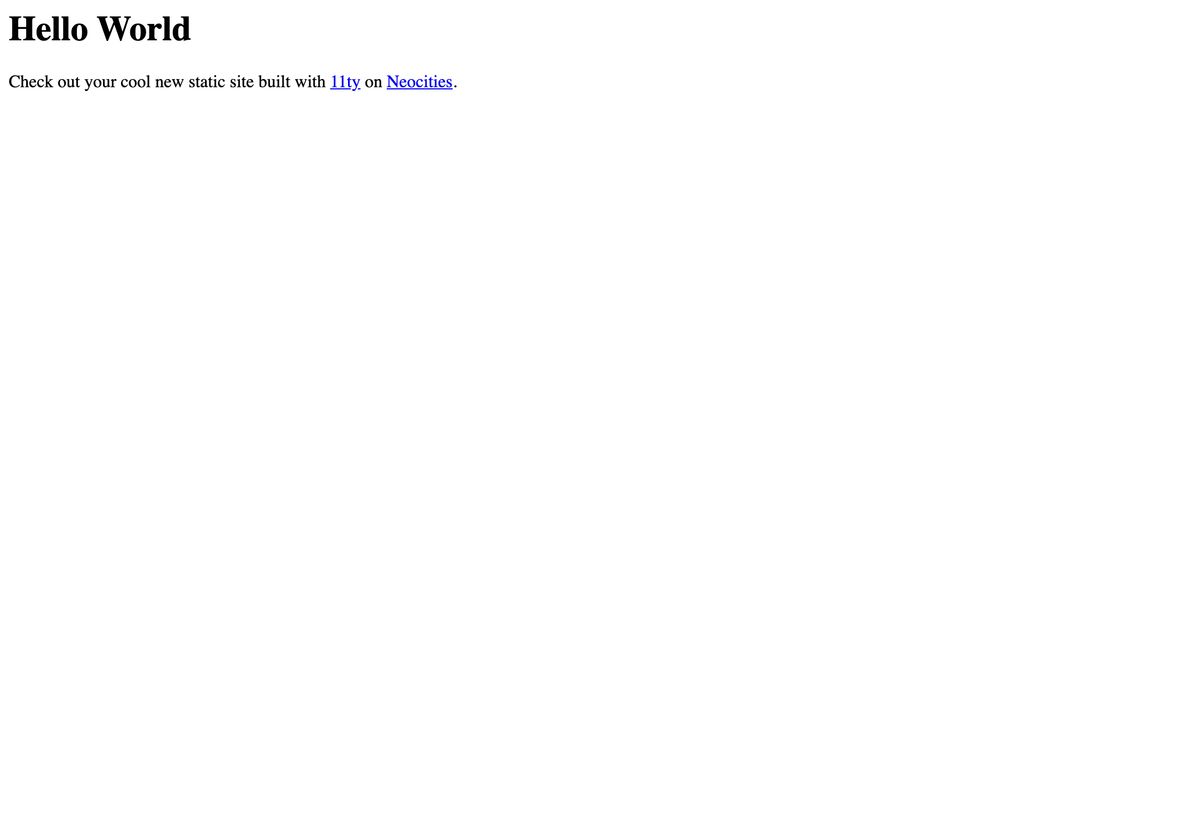
    <h1>Hello World</h1>

    <p>
      Check out your cool new static site built with
      <a href="https://11ty.dev">11ty</a> on
      <a href="https://neocities.org/">Neocities</a>.
    </p>
  </body>
</html>
Now from the terminal start 11ty:
npm startIf everything has been configured right so far you should see the following:
> 11ty-neocities@1.0.0 start
> npx @11ty/eleventy --serve

[11ty] Writing public/index.html from ./src/index.html (liquid)
[11ty] Wrote 1 file in 0.03 seconds (v3.1.6)
[11ty] Watching…
[11ty] Server at http://localhost:8080/
Now you can open up http://localhost:8080 and check out your new 11ty homepage! It should look like this:
Amazing! But what we want to avoid is having to write out the <html> and <head> and <body> tags on each and every page, and be able to include a site header, navigation and footer so we don’t have to copy and paste the changes across every page each time we update.
Let’s checkout templating a layout!
Create a base layout
Create a new directory _includes/ in the src/ directory and cd into it:
mkdir _includes && cd _includesCreate a file base.njk in the terminal or VSCodium:
touch base.njkOpen the file and add the following:
<!DOCTYPE html>
<html lang="en">
  <head>
    <meta charset="UTF-8" />
    <meta name="viewport" content="width=device-width, initial-scale=1.0" />
    <title>{{ title }}</title>
  </head>
  <body>
    <header>
      <h1>{{ title }}</h1>
    </header>
    <main>{{ content | safe }}</main>
  </body>
</html>Now, head back to the index.html file you created earlier, delete the contents and add some front matter and some content:
---
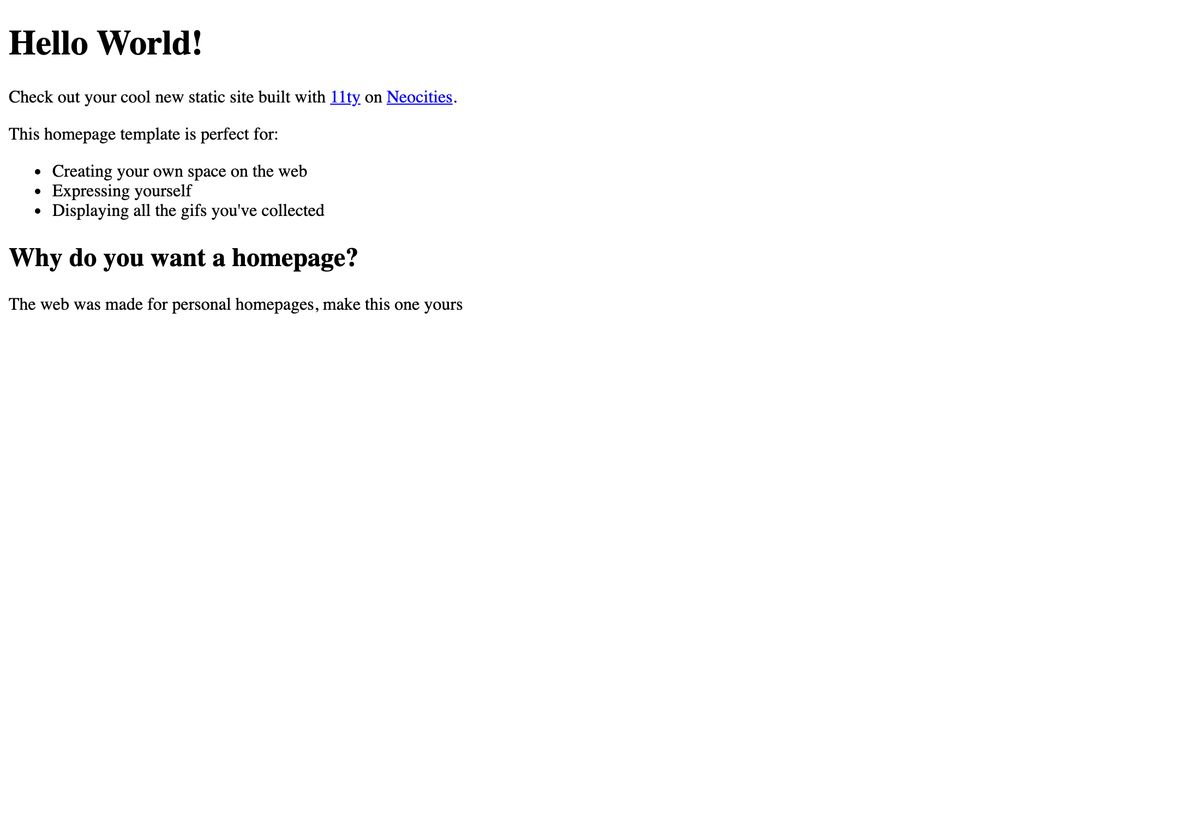
title: Hello World!
layout: base.njk
---

<p>
  Check out your cool new static site built with
  <a href="https://11ty.dev">11ty</a> on
  <a href="https://neocities.org/">Neocities</a>.
</p>

<p>This homepage template is perfect for:</p>

<ul>
  <li>Creating your own space on the web</li>
  <li>Expressing yourself</li>
  <li>Displaying all the gifs you've collected</li>
</ul>

<h2>Why do you want a homepage?</h2>
<p>The web was made for personal homepages, make this one yours</p>
If you’ve kept 11ty running and the browser running it should look like this:
Amazing! Now lets create the additional pages for our homepage.
Create the following pages in the src/ directory with the terminal or VSCodium:
touch about.html && touch links.html && touch contact.htmlOpen each of them up and add in some front matter and content:
about.html:
---
title: About Me
layout: base.njk
---

<p>Heya 👋 this is my homepage.</p>
links.html:
---
title: Links
layout: base.njk
---

<p>These are some of my favourite websites 🔗</p>
<ul>
  <li><a href="https://flamedfury.com">fLaMEdFury.com</a></li>
  <li><a href="https://11ty.dev">11ty</a></li>
  <li><a href="https://neocities.org">Neocities</a></li>
  <li><a href="https://32bit.cafe/">The 32-Bit Cafe</a></li>
</ul>
contact.html:
---
title: Contact Me
layout: base.njk
---

<p>Heya 👋 this is my contact page</p>
You should now be able to browse each of these pages if you kept 11ty running on the following urls:
http://localhost:8080/about/
http://localhost:8080/links/
http://localhost:8080/contact/
Great stuff, but that’s no use without a navigation! Let’s take a look at partials and create a shared header, navigation, and footer to bring our homepage together.
Creating our partials
In the terminal cd into _includes/ and create three partial files:
cd _includes && touch header.njk && touch navigation.njk && touch footer.njkOpen each of them up and add some content:
header.njk:
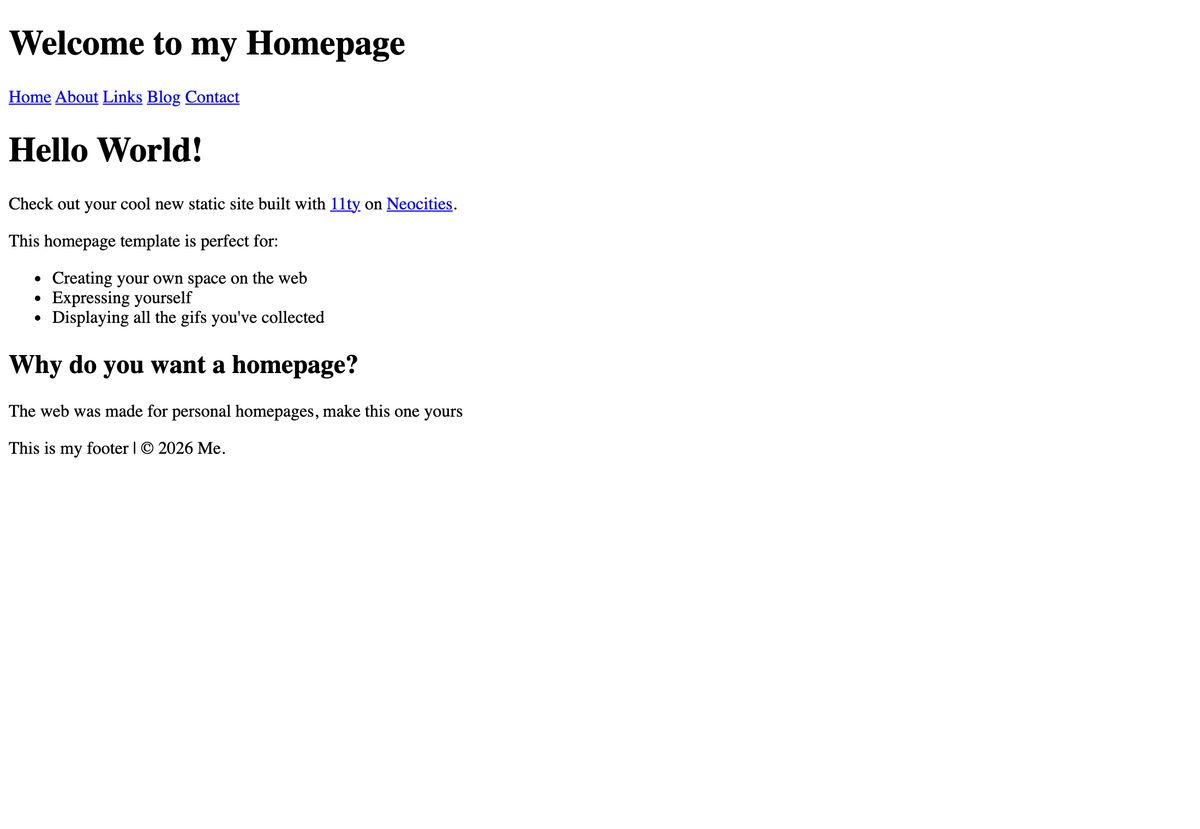
<h1>Welcome to my Homepage</h1>navigation.njk
<a href="/">Home</a>
<a href="/about/">About</a>
<a href="/links/">Links</a>
<a href="/blog/">Blog</a>
<a href="/contact/">Contact</a>footer.njk:
<p>This is my footer | © 2026 Me.</p>Once our partials are created, open base.njk again and update it to include our new elements and partials:
base.njk:
<!DOCTYPE html>
<html lang="en">

<head>
  <meta charset="UTF-8" />
  <meta name="viewport" content="width=device-width, initial-scale=1.0" />

  <title>{{ title }}</title>
</head>

<body>
  <header>{% include 'header.njk' %}</header>

  <nav>{% include 'navigation.njk' %}</nav>

  <main>
    <h1>{{ title }}</h1>
    {{ content | safe }}
  </main>

  <footer>{% include 'footer.njk' %}</footer>
</body>

</html>
If you’ve kept 11ty running and the browser running it should look like this:
Amazing! Now lets add the blog.
Creating the blog
Blog posts are mostly prose, so this is where Markdown earns its keep. We’ll write the posts as .md files and let 11ty turn them into pages.
Create a new directory blog in the src directory and cd into it:
mkdir blog && cd blogCreate the following files in the src/blog directory with the terminal or VSCodium:
touch my-first-post.md && touch my-second-post.md && touch my-third-post.md && touch blog.jsonAwesome, Open each of them up in VSCodium and add the following:
---
title: My First Blog Post
---

This is my first blog post---
title: My Second Blog Post
---
This is my second blog post---
title: My Third Blog Post
---
This is my third and final blog postblog.json
{
  "layout": "blog"
}We better create a blog layout so it renders!
Head back to the _includes directory to create a new layout file:
cd ../_includes && touch blog.njkOpen blog.njk up in VSCodium and add the following:
blog.njk:
---
layout: base.njk
---

<article>{{ content | safe }}</article>Check that your blog posts are loading:
- http://localhost:8080/blog/my-first-post/
- http://localhost:8080/blog/my-second-post/
- http://localhost:8080/blog/my-third-post/
Amazing right? But to make it a blog, we need a blog page that lists all of our blog posts. We can do this with a tags collection:
Open blog.json again and add a key called tags with a value of blog:
blog.json:
{
  "layout": "blog",
  "tags": "blog"
}
Now 11ty has created a collection called blog and all we have to do is list it.
Head back to the src/ directory and create a blog.html file:
cd .. && touch blog.htmlOpen it and add the following:
blog.html:
---
title: This Is My Blog
layout: base.njk
---

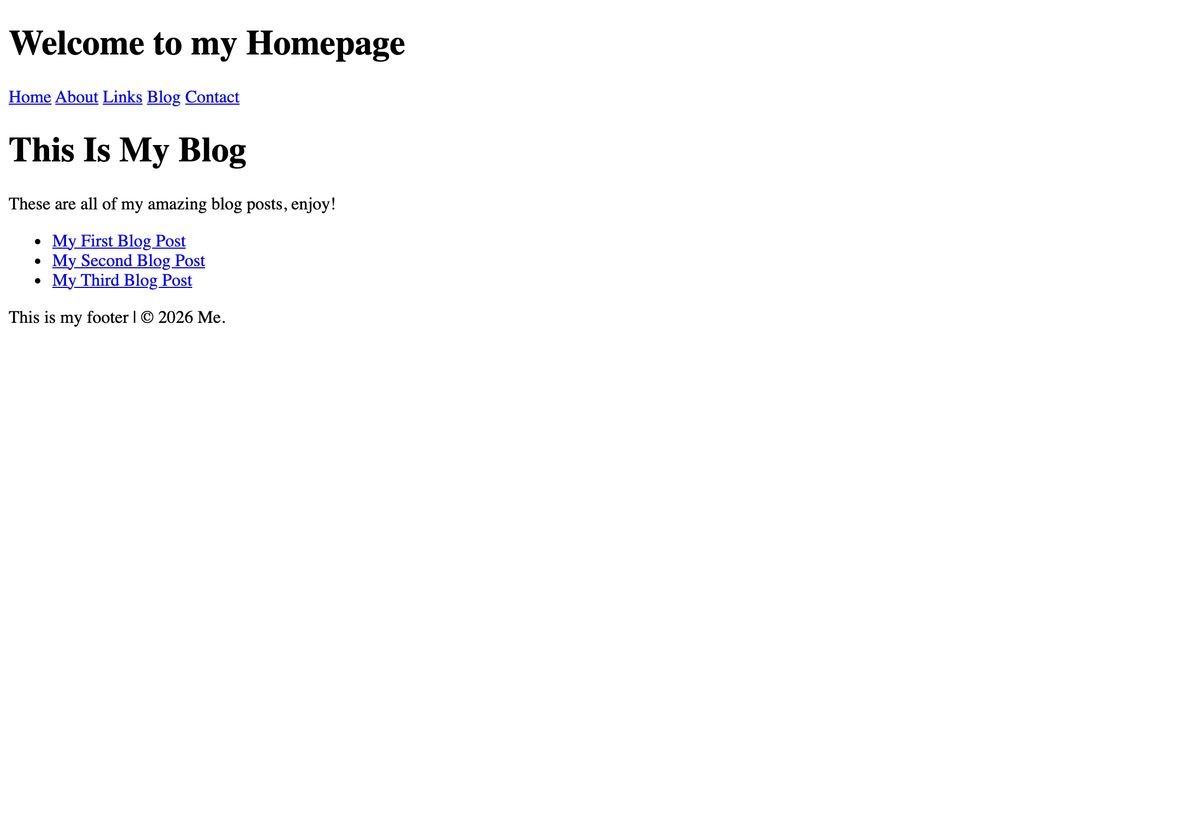
These are all of my amazing blog posts, enjoy!
<ul>
  {% for post in collections.blog | reverse %}
  <li>
    <a href="{{ post.url }}">{{ post.data.title }}</a>
  </li>
  {% endfor %}
</ul>
If you’ve kept 11ty running and the browser running it should look like this:
Amazing huh?
Add some styles
Great, so far we have a fully functional home page, but it doesn’t look quite right. We need a style sheet. You can use the one below as an example, it’s basic styling with some modern techniques, or just throw in your own!
Create a new css directory in src, cd into it and create styles.css:
mkdir css && cd css && touch styles.cssOpen styles.css in VSCodium and add the following:
styles.css:
:root {
  /* Let the browser handle light and dark automatically */
  color-scheme: light dark;

  /* Two system-font stacks: sans for body, serif for headings */
  --font-body: system-ui, sans-serif;
  --font-head: ui-serif, Georgia, "Iowan Old Style", serif;

  /* Purple/pink palette. light-dark() picks the light value first, dark second */
  --bg: light-dark(#fdf4fa, #1a141f);
  --text: light-dark(#2a1f2d, #ece0ef);
  --muted: light-dark(#6f5d77, #a892b0);
  --accent: light-dark(#a21caf, #ff7ab6);
  --border: light-dark(#ecd9ec, #3a2f40);
}

*,
*::before,
*::after {
  box-sizing: border-box;
}

body {
  font-family: var(--font-body);
  color: var(--text);
  background: var(--bg);
  font-size: 1.15rem;
  line-height: 1.6;
  max-width: 40rem;
  margin-inline: auto;
  padding: 0 1rem;
}

/* Site header */
header {
  text-align: center;
  padding-block: 2rem;
}

/* Navigation */
nav {
  display: flex;
  flex-wrap: wrap;
  justify-content: center;
  gap: 1.5rem;
  padding-bottom: 1.5rem;
  border-bottom: 1px solid var(--border);
}

/* Main content */
main {
  padding-block: 2rem;
}

/* Site footer */
footer {
  margin-top: 4rem;
  padding-block: 2rem;
  text-align: center;
  color: var(--muted);
  font-size: 0.9rem;
  border-top: 1px solid var(--border);
}

/* Links */
a {
  color: var(--accent);
  text-underline-offset: 0.18em;
}

a:hover {
  text-decoration: none;
}

/* Headings */
h1,
h2 {
  font-family: var(--font-head);
  line-height: 1.1;
}

h1 {
  font-size: 2.5rem;
}

h2 {
  font-size: 1.8rem;
  margin-top: 2.5rem;
}Now we need to include the style sheet in our base.njk layout file. Open it up and add <link rel="stylesheet" href="/css/styles.css" /> to the <head>:
_includes/base.njk:
<!DOCTYPE html>
<html lang="en">

<head>
  <meta charset="UTF-8" />
  <meta name="viewport" content="width=device-width, initial-scale=1.0" />
  <link rel="stylesheet" href="/css/styles.css" />
  <title>{{ title }}</title>
</head>

<body>
  <header>{% include 'header.njk' %}</header>

  <nav>{% include 'navigation.njk' %}</nav>

  <main>
    <h1>{{ title }}</h1>
    {{ content | safe }}
  </main>

  <footer>{% include 'footer.njk' %}</footer>
</body>

</html>
You would have noticed that the stylesheet hasn’t been applied, we have to do one more thing in eleventy.config.js, something called file passthrough copy.
Open eleventy.config.js in VSCodium and add the following:
export default function (eleventyConfig) {
  eleventyConfig.addPassthroughCopy("./src/css");

  return {
    dir: {
      input: "src",
      output: "public",
      includes: "_includes",
    },
  };
}Because this will come up we may as well create the directories and add in the configuration for our images, fonts and JavaScript files.
Create the following directories in src:
mkdir img && mkdir fonts && mkdir jsUpdate eleventy.config.js again:
export default function (eleventyConfig) {
  eleventyConfig.addPassthroughCopy("./src/css");
  eleventyConfig.addPassthroughCopy("./src/img");
  eleventyConfig.addPassthroughCopy("./src/fonts");
  eleventyConfig.addPassthroughCopy("./src/js");

  return {
    dir: {
      input: "src",
      output: "public",
      includes: "_includes",
    },
  };
}
Just make sure you put all your static files in the appropriate directory and you’ll be good.
So finally, if you’ve kept 11ty running and the browser running it should look like this:
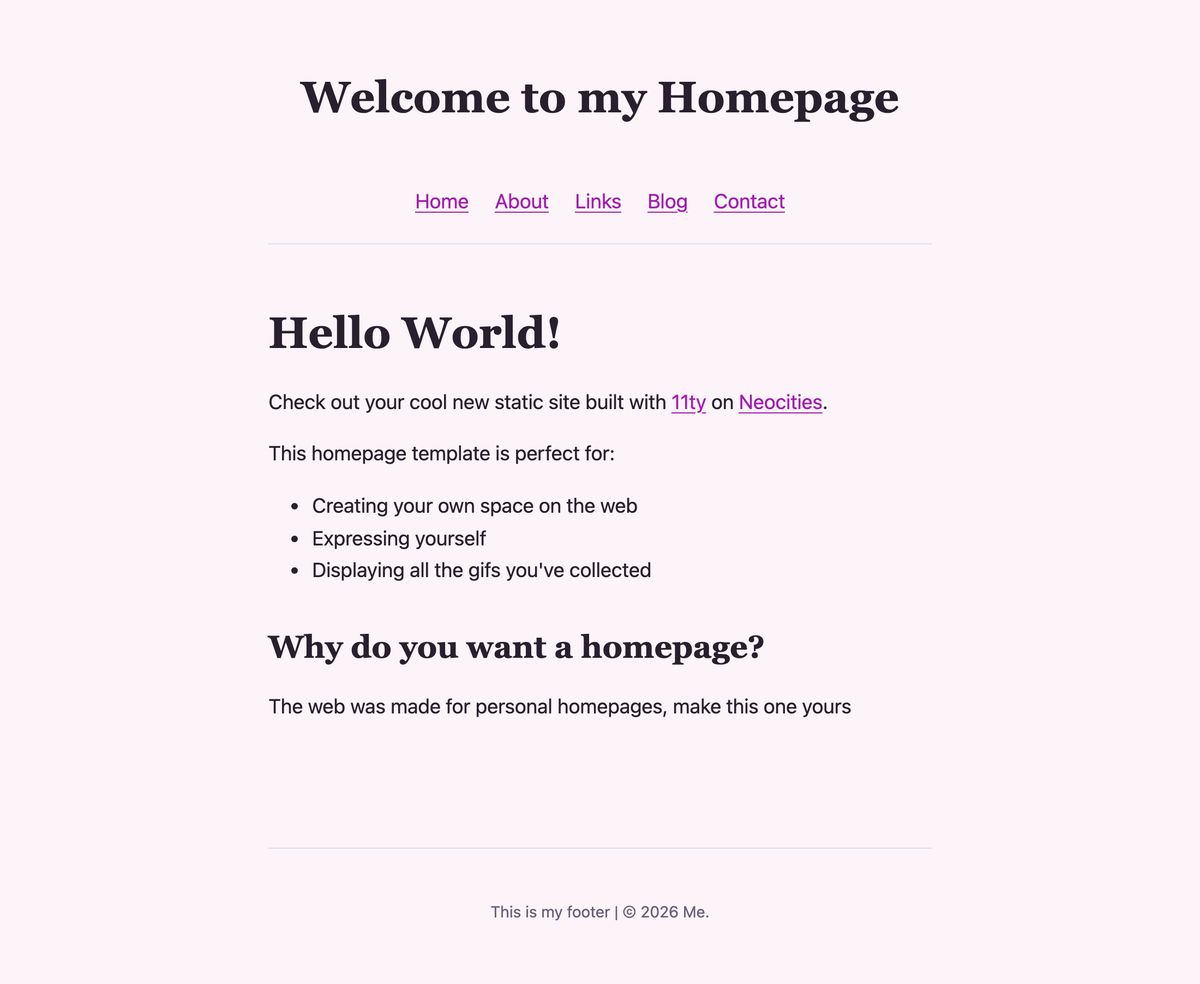
Yours will look a little different depending on the colours and fonts you chose above. Now we have a homepage we’re happy with, let’s get it online.
Deploy to Neocities
There are two ways to get your site onto Neocities. We’ll start with the simplest, pushing it from your terminal by hand, then automate it so a deploy happens every time you commit.
Build the site
Whichever method you choose, first build a fresh copy of your site:
npm run buildThis writes the finished HTML, CSS and assets to the public directory. That’s the folder we deploy.
The simple way: the Neocities CLI
Neocities provides a command-line tool that lets you push your site straight from your terminal. It’s a Ruby gem, so you’ll need Ruby installed.
gem install neocitiesThe first time you run a command it’ll ask for your Neocities username and password, then store an API key locally so you don’t have to log in again.
Push the contents of your public directory:
neocities push publicThat’s it, your homepage is live. For a lot of people this is all you need. Build, push, done.
The automated way: Forgejo Actions
Pushing by hand is fine, but it’s even nicer to have your site rebuild and deploy itself every time you commit a change. We can do that with Forgejo Actions, the built-in CI for Forgejo. If you self-host Forgejo this runs on your own runner; if you don’t self-host, Codeberg offers the same thing (more on that below).
First, push your project to a repository on your Forgejo instance. Then grab your Neocities API key from your account settings (Manage Site Settings → API Key) and add it to your repository as a secret named NEOCITIES_API_KEY (Repository → Settings → Actions → Secrets).
Now create a workflow file at .forgejo/workflows/deploy.yml:
name: Deploy to Neocities

on:
  push:
    branches:
      - main

# only run one deploy at a time
concurrency:
  group: deploy-neocities
  cancel-in-progress: true

jobs:
  deploy:
    runs-on: docker
    steps:
      - name: Checkout
        uses: https://code.forgejo.org/actions/checkout@v4

      - name: Set up Node
        uses: https://code.forgejo.org/actions/setup-node@v4
        with:
          node-version: 22

      - name: Install and build
        run: |
          npm ci
          npm run build

      - name: Deploy to Neocities
        uses: https://github.com/bcomnes/deploy-to-neocities@v3
        with:
          api_token: ${{ secrets.NEOCITIES_API_KEY }}
          dist_dir: public
cleanup: trueCommit and push the workflow file. From now on, every push to main rebuilds your site and deploys it to Neocities automatically.
Not self-hosting? Use Codeberg
If you don’t run your own Forgejo instance, Codeberg is a free, community-run home for your code and runs the very same Forgejo Actions. The workflow file above works as-is. Push your project to a Codeberg repo, add the NEOCITIES_API_KEY secret in the repository settings, and you’re away. You may need to enable Actions for your repository first; see the Codeberg CI documentation for details.
Bringing your existing site across
Already have a homepage you’ve been hand-coding on Neocities? You don’t have to start from scratch. Eleventy is happy to take what you’ve got and slot it into this structure.
Copy each existing page into src/ (your old index.html becomes src/index.html, and so on). Then move the parts every page repeats, the <head>, header, nav and footer, into base.njk and the partials you built earlier. Delete that boilerplate from each page and add a little front matter at the top:
---
title: About Me
layout: base.njk
---
Whatever’s left in the file is just that page’s own content, and the layout wraps it.
Your CSS goes in src/css/, images in src/img/, and fonts in src/fonts/. The passthrough copy we set up earlier ships them straight to public/.
If a page is mostly writing, paste the body into a .md file instead of .html. Any fiddly HTML, like an embed or some custom markup, can stay exactly as it is and 11ty will render the Markdown around it.
Run npm run build, check public/ looks the way you expect, then push it live with the Neocities CLI or your Forgejo Actions workflow. Same site you already had, now with layouts, partials and a build step doing the repetitive work for you.
Reference: I created the original version of this guide based heavily on these existing guides, and they’re still well worth a read:
Without these, I wouldn’t even know how to write down what I needed to.
Reply by email, XMPP, send a webmention, or say what's up in the guestbook.
Mentioned on:
